You need to send someone a prepaid shipping label pre-addressed for a seamless returns process when necessary. USPS, for example, Lets you create prepaid shipping labels through USPS Click-N-Ship. This is similar to FedEx’s method of creating a prepaid shipping label, with can be done on their website.
An e-commerce business will always face returned items situations. When most customers have to return items, they will question the return label, so you must know how it works as a seller.
How does the prepaid return label work?
Generally, a return shipping label makes customer returns simple and hassle-free, which saves resources—time and money—for your business.
Read also: Walmart help: getting your Cashback ASAP
A return shipping label is prepaid and pre-addressed for your customer to conveniently return items when necessary. This will also ensure there are no address mistakes and you can control the return costs since you’re able to pick cheaper shipping options.
You’d have to choose a courier service and shipping option that matches your budget and then enter the address where the returns will be delivered, including information on item identification for your inventory management, and complete payments covering the return shipment charges.
You can create a return shipping label with your courier service and choose a cheaper shipping return option to match your budget.
Making sure customers get a prepaid shipping label
a. Send a label with the shipment
Just add a printed return shipping label to their package so that the customer takes the item to the courier when they have to return it.
b. Have the customer print it
If you don’t want to attach the label to the package, send it via email so the customer prints it and presents it to the courier.
How to send someone a prepaid shipping label
In this section, you’ll learn the steps to send your customers a prepaid shipping label:
1. Prepaid USPS shipping label
a. Create the label
Create prepaid USPS shipping labels is generally on USPS Click-N-Ship via https://reg.usps.com/entreg/LoginAction_input?app=GSS&appURL=https://cns.usps.com/m/createLabel.shtml.
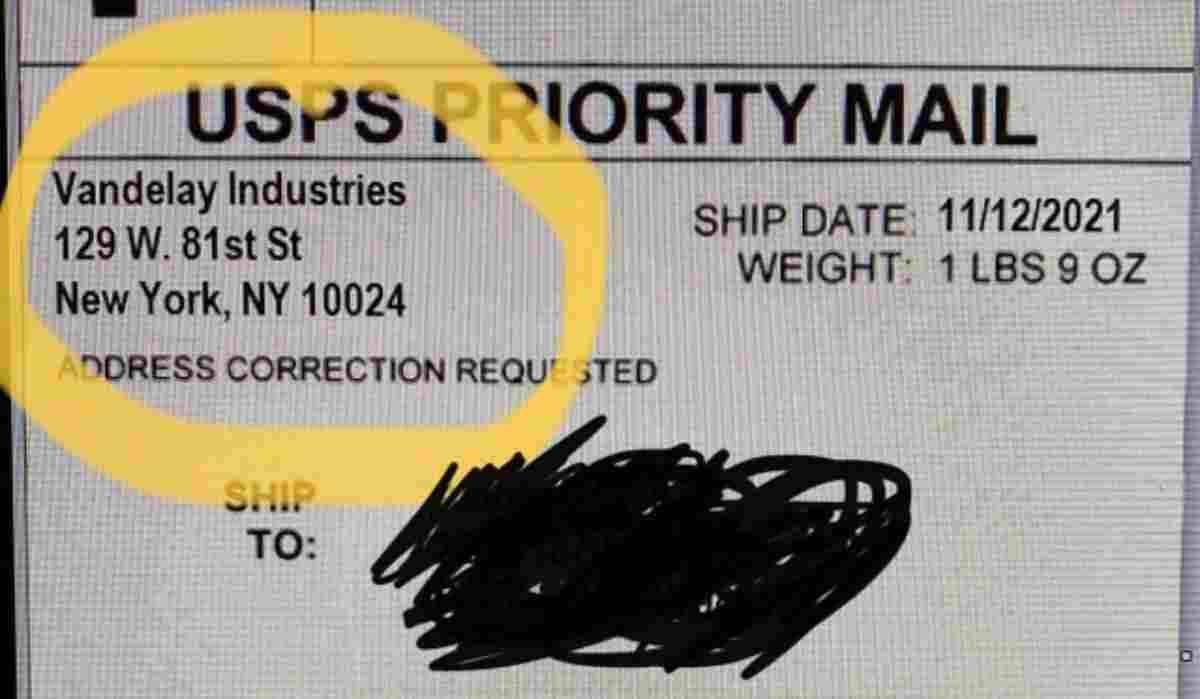
USPS has options for various mailing classes for return shipping, including Priority Mail and First Class.
b. Send the label
To provide return shipping labels to customers on USPS, you can add the label to your customer’s shipments.
USPS also allows you to integrate the return tools into your website. Alternatively, you can have your customers print the label themselves.
2. Creating a prepaid FedEx shipping label
Do the following to create a shipping label on FedEx:
- Log in to your FedEx account.
- Under the Ship tab, click Create Shipment.
- Select Prepare Shipment in the FedEx Ship Manager.
- Click Create Return Shipment.
- Enter your business details in Return Package to and enter your customer’s information.
- Pick your return label type from the provided options.
- Click the return shipping method under Select Package Type and specify the package type (tube, box, or envelope).
- Go through and confirm your billing information. Finally, click the Ship button—you’re done.
FedEx return labels options
The return label options on FedEx include:
a. FedEx Print Return Label
Use this return label for medical, legal documents and warranty services, and other related services. It’s free and allows you to track it by linking it to the outbound shipping label.
Read also: Ibotta and Walmart processes for users
b. FedEx Email Return Label
This is an electronic version of the FedEx return label that allows you to send return labels via email to customers with a password-protected barcode. This gives the customer option to either print and submit the label or just present the barcode at the FedEx office.
Note that a seller can set how much time customers have to print the label.
c. FedEx Express Billable Stamps
These are preprinted labels with your address and advance shipping options you select yourself. You’d have to pay for this option though.
d. FedEx Ground Package Returns Program
Unfortunately, this option is only available in the U.S. and Canada. It lets sellers send the printed label to customers on request or with the shipment.
3. Create a Prepaid UPS shipping label
UPS supports return shipping options in some countries only. You’d be using the UPS CampusShip for your prepaid label. Do the following to create your shipping label on UPS:
- Choose the Return To and Return From addresses.
- Choose the package weight and dimensions.
- Pick a shipping label of your choice. Make sure to consider affordability, shipping time, or other factors you think are necessary for your business.
UPS shipping label options
a. UPS Returns – Print Return Label
This service allows you to send your UPS return label with the shipment or separately on demand L. However, the declared value is limited to $1,000 or currency equivalent.
b. UPS Returns Plus
In the UPS Returns Plus, the driver carries the UPS return label when picking up the return package from the address.
c. UPS Electronic Return Label
Use this UPS Electronic Return Label if you have to quickly email the UPS return label to your customers. Just print the label alongside a receipt and information about the pickup arrangement. Make sure you don’t forget to choose the Receipt option before you confirm.
d. UPS Print and Mail Return Label
This option is especially important for products that require recalls. Print the UPS prepaid label, and then UPS will mail it to your customers.
Conclusion
With the steps above, any seller will easily send someone a prepaid shipping label to keep the business moving swiftly. The process is simple, and with features that allow you to manage the process in a manner most suitable for your business.


